(all are two coats except as noted below, and all have clear topcoat added)
1. Island Girl Red Sun
2. Island Girl Island Sun [this has white hearts in it that are disappearing against the nail wheel; next time I need to put a colored base under it]
3. Island Girl Waikiki Sunset
4. Island Girl Island Volcano [this would be better over a dark base]
5. Island Girl Island Coast
6. Island Girl Island Volcano (3 coats) [yes, same name as #4; not sure if a mislabel or recycling the name]
7. Island Girl Island Heat
8. Island Girl Island Sunset
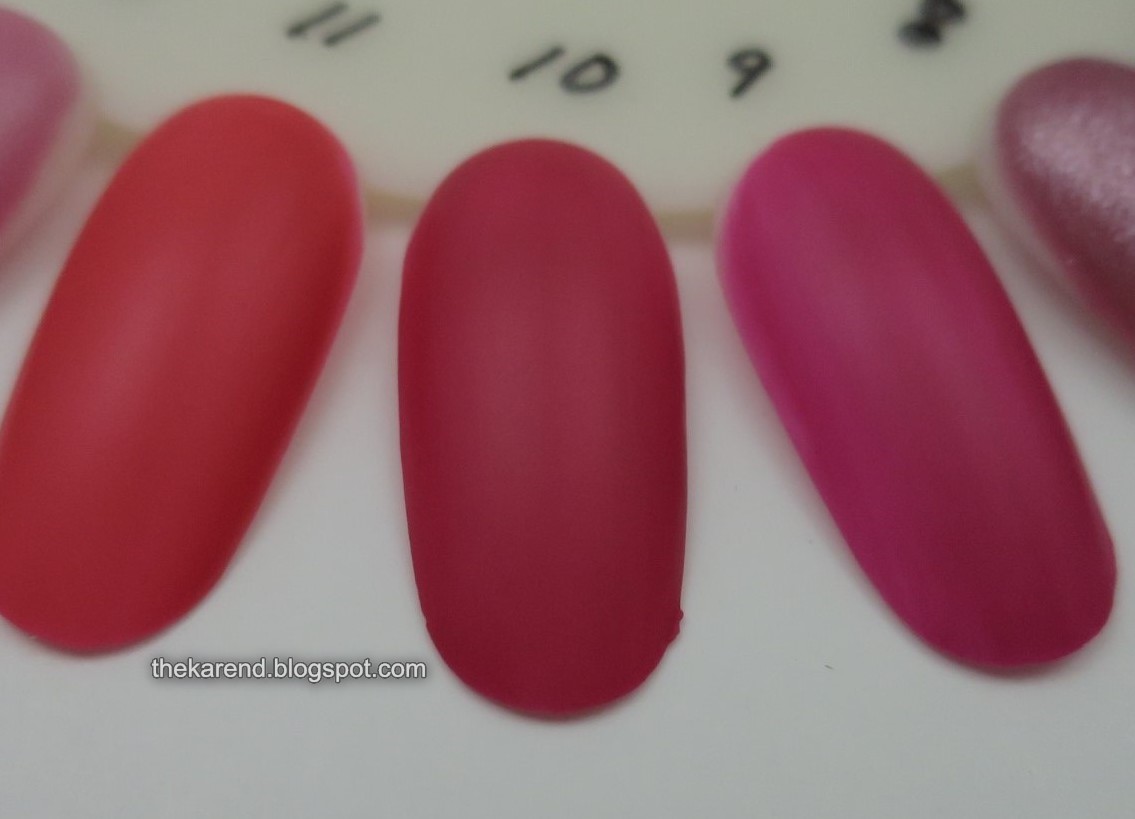
9. Island Girl Island Paradise
10. Island Girl Hawaiian Islands [needs a colored base, I think; stars didn't need too much fishing to get out of the bottle]
11. Island Girl Surfing Safari [used dabbing technique to place stars]
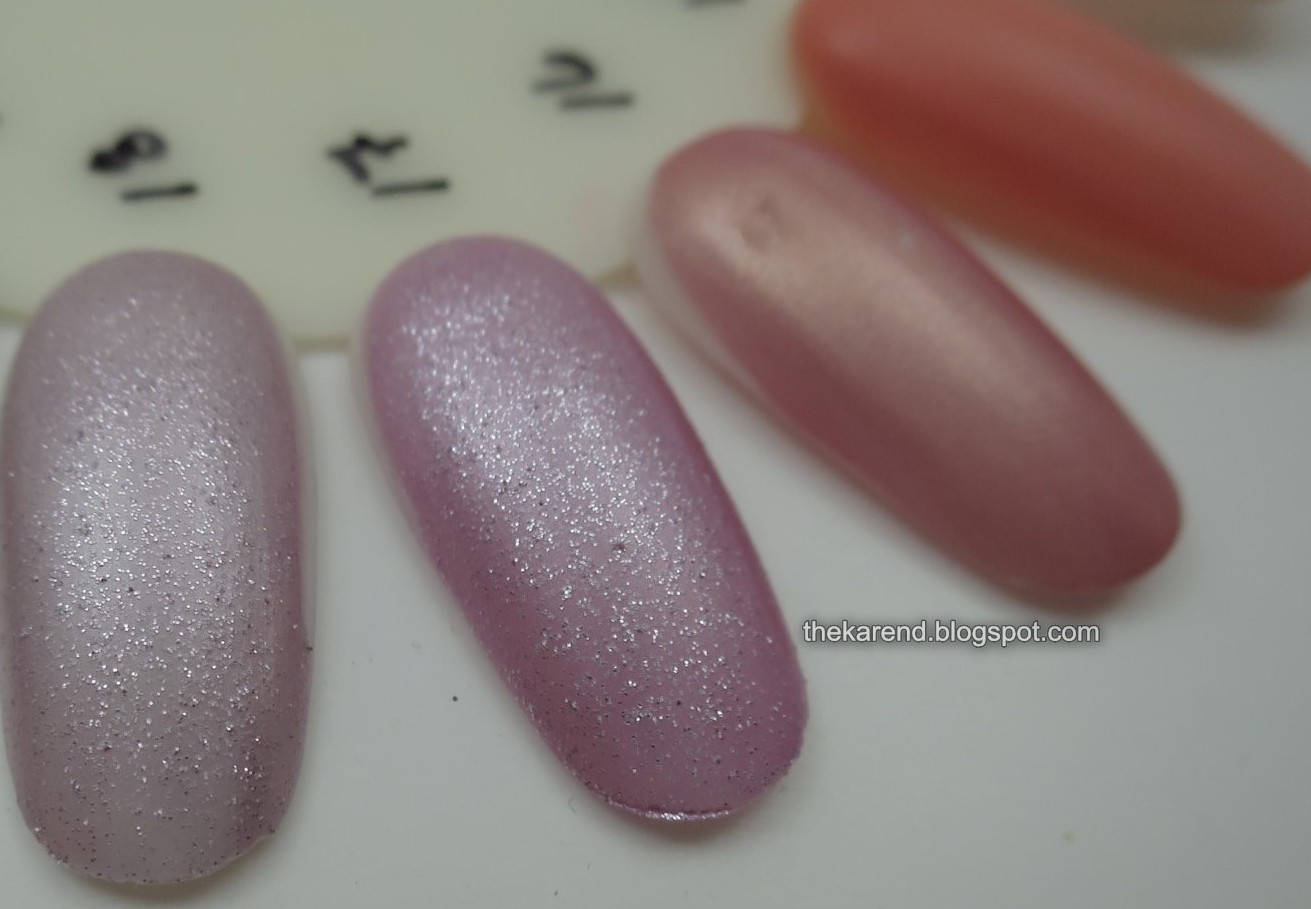
12. Island Girl Aloha Surf
13. Island Girl Hawaiian Sunset
14. Island Girl Hawaiian Sun
15. Island Girl Island Color
16. Island Girl Island Sunset (3 coats) [yes, another duplicate name]
17. Island Girl Island Sunset (3 coats) [seriously, yes, I have three with the same name;
18. Island Girl Island Girl
19. Color Zone unnamed silver holo bar glitter topper
20. Color Zone unnamed blue and purple dense glitter
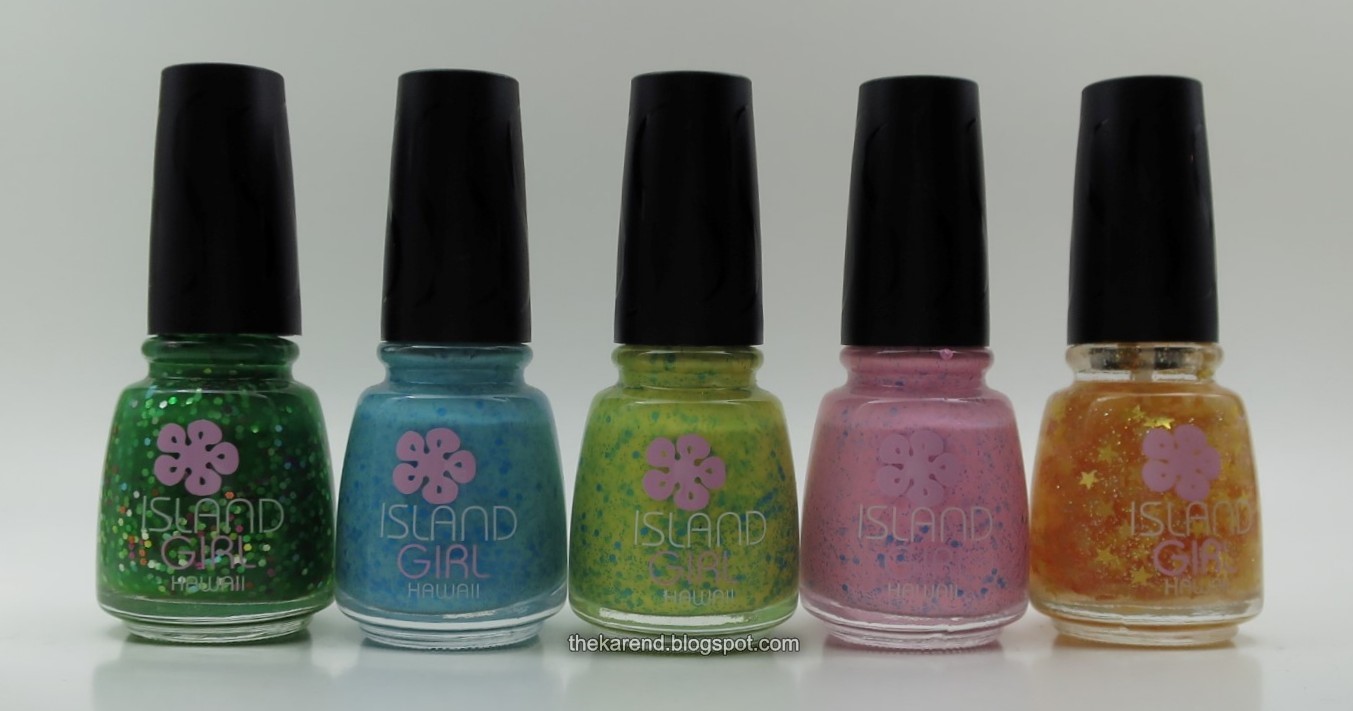
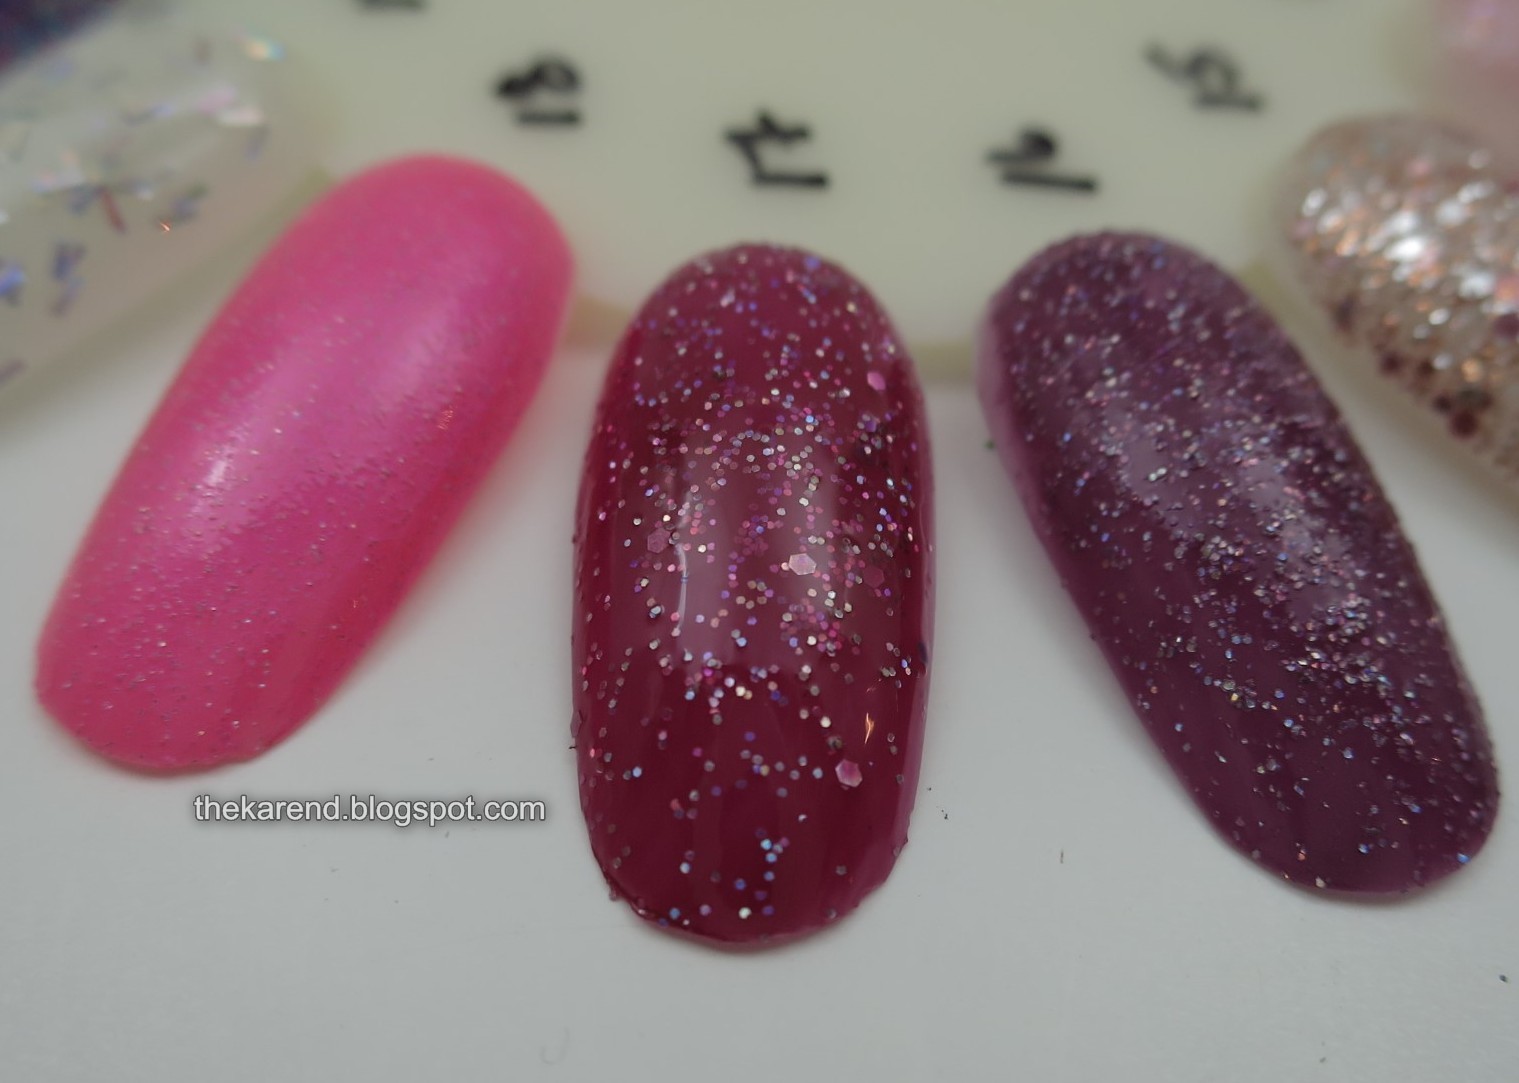
Bottles 1 through 5:

6 through 10:
11 through 15:
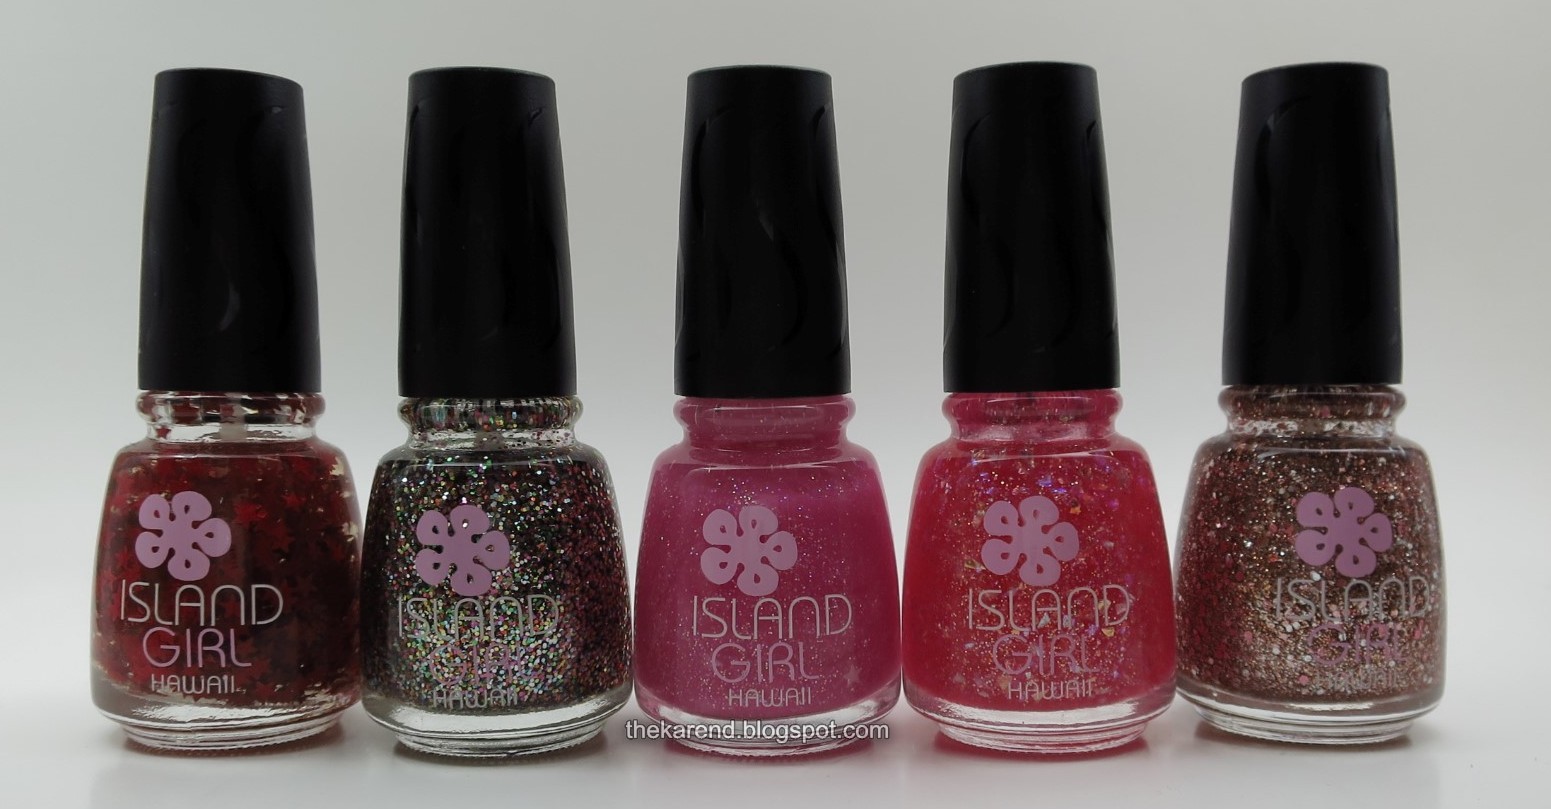
16 through 20:

In detail shots, you'll see I'm still learning how the new camera focuses, or fails to.


Direct light to bring out the holo glitter: