Monday, June 30, 2014

Recent NOTD: Sally Hansen Salon Effects French Mani

As many times as I've worn Sally Hansen strips, I'd never tried the French Mani ones until earlier this month, when I put on the Pink Macaroon design.


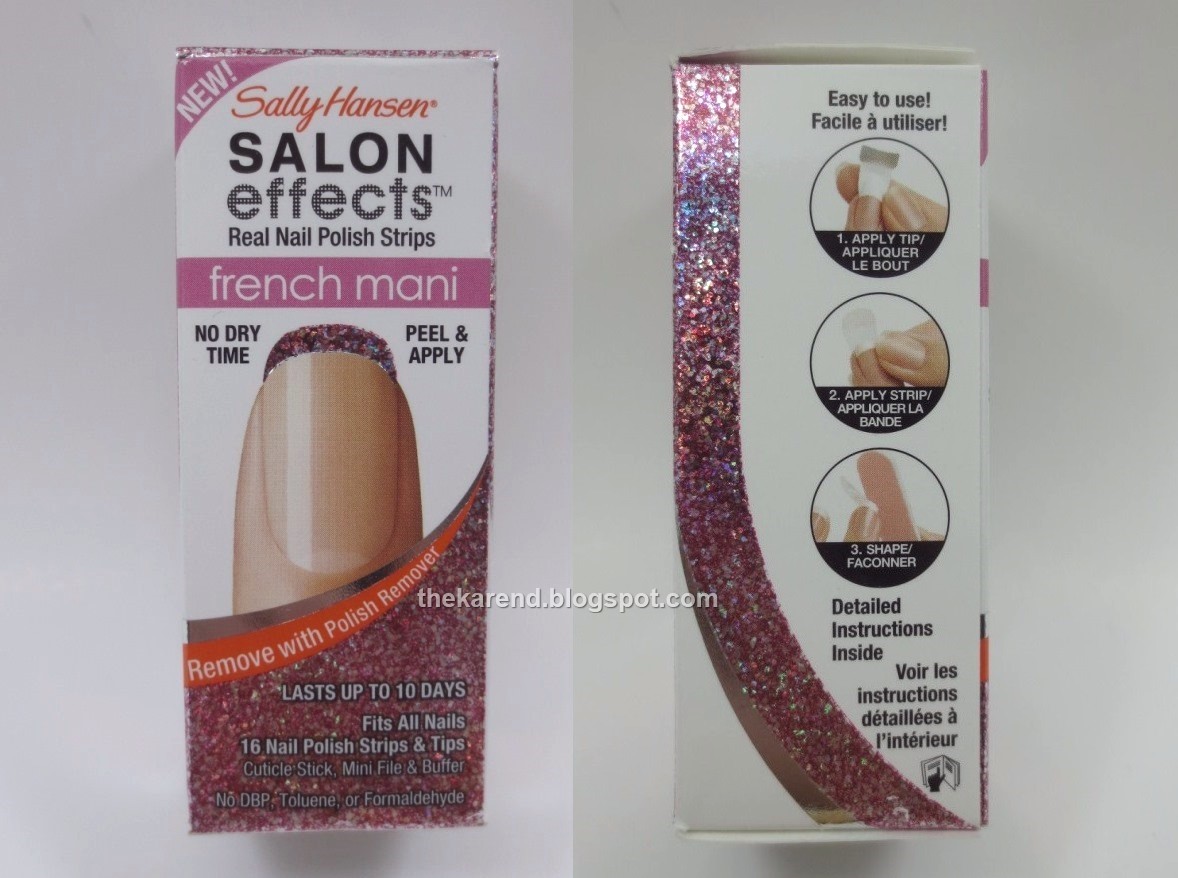
The directions on the side of the box are a bit different for these than the regular designs. For the regular, the steps are peel, apply, shape; for these, they're apply tip, apply strip, shape. The contents differ, too; like the regular designs, these have an instruction sheet, file, pusher stick, and two packets of full nail strips, but they also have a packet of tip strips.


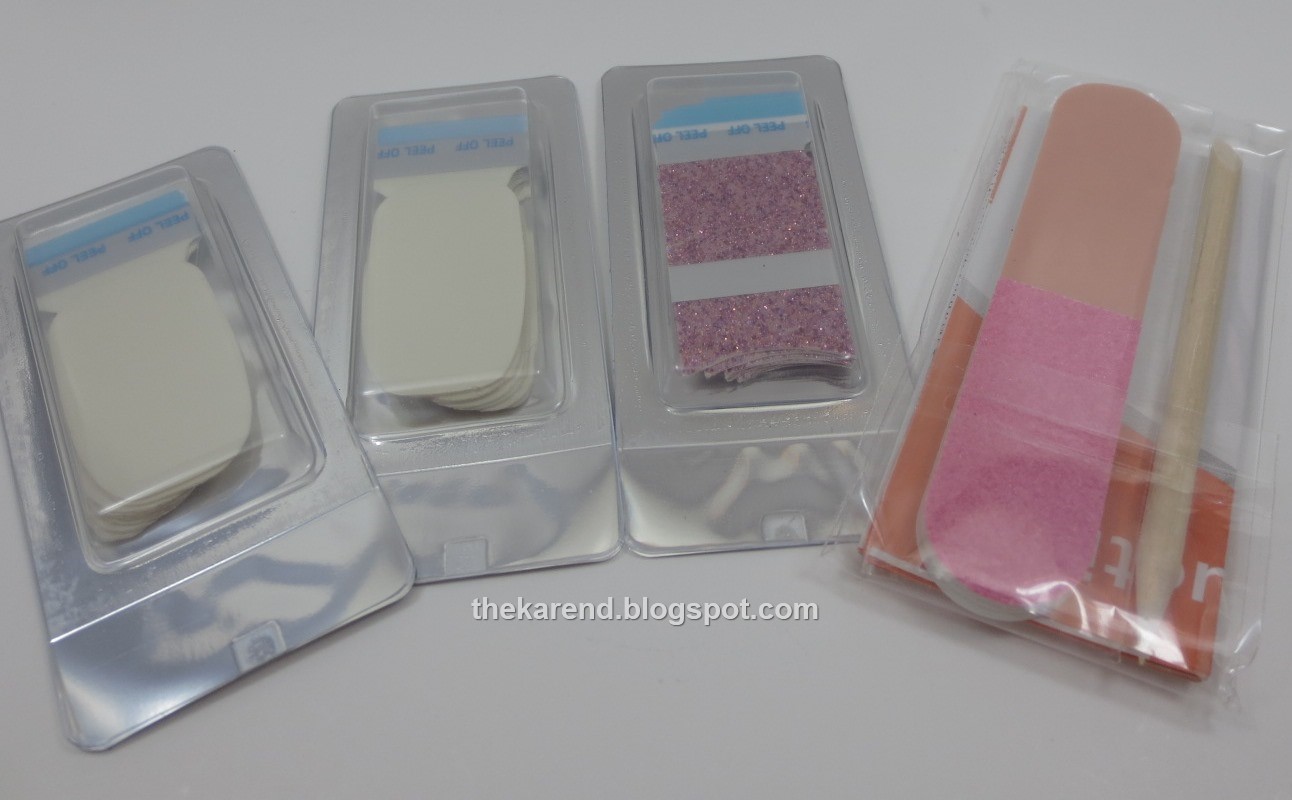
In the tip strips packet, there are eight strips, which would initially seem like not enough for ten fingers, but each of them has two sections, so there's really enough for sixteen fingers in eight sizes.


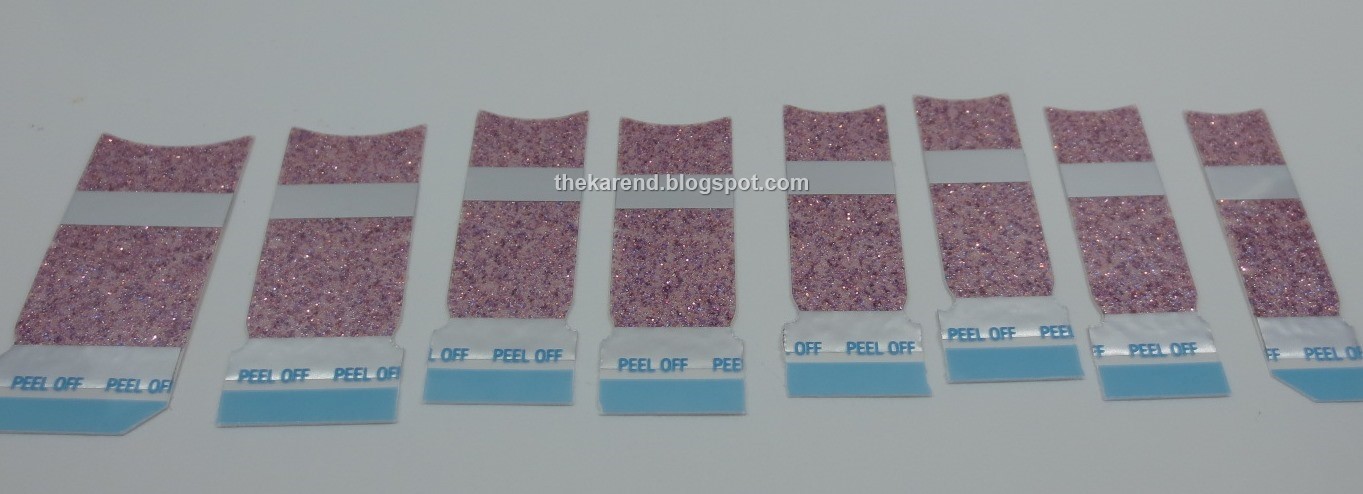
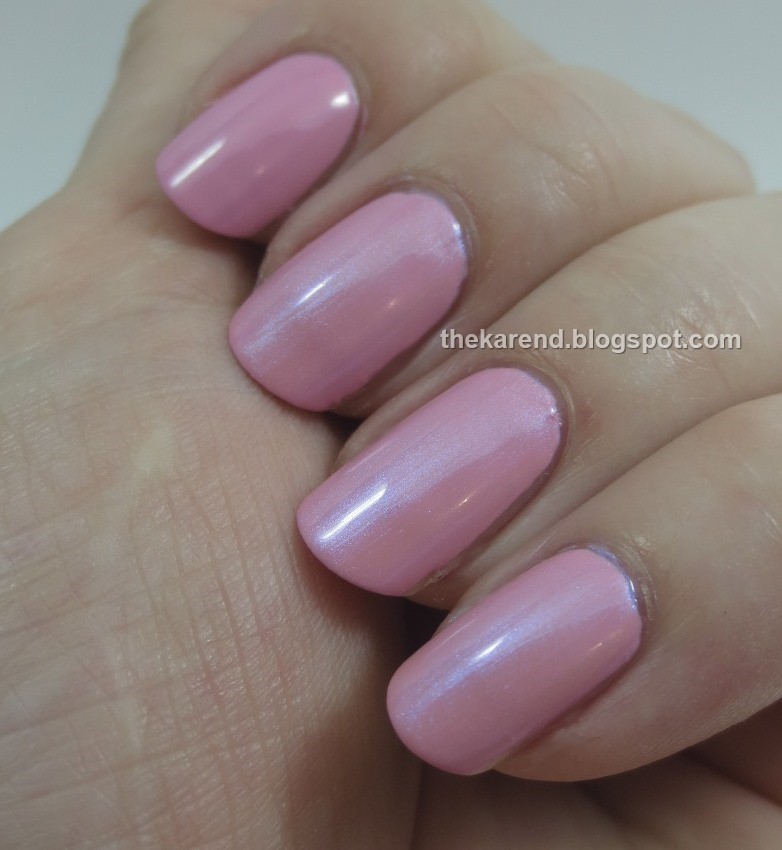
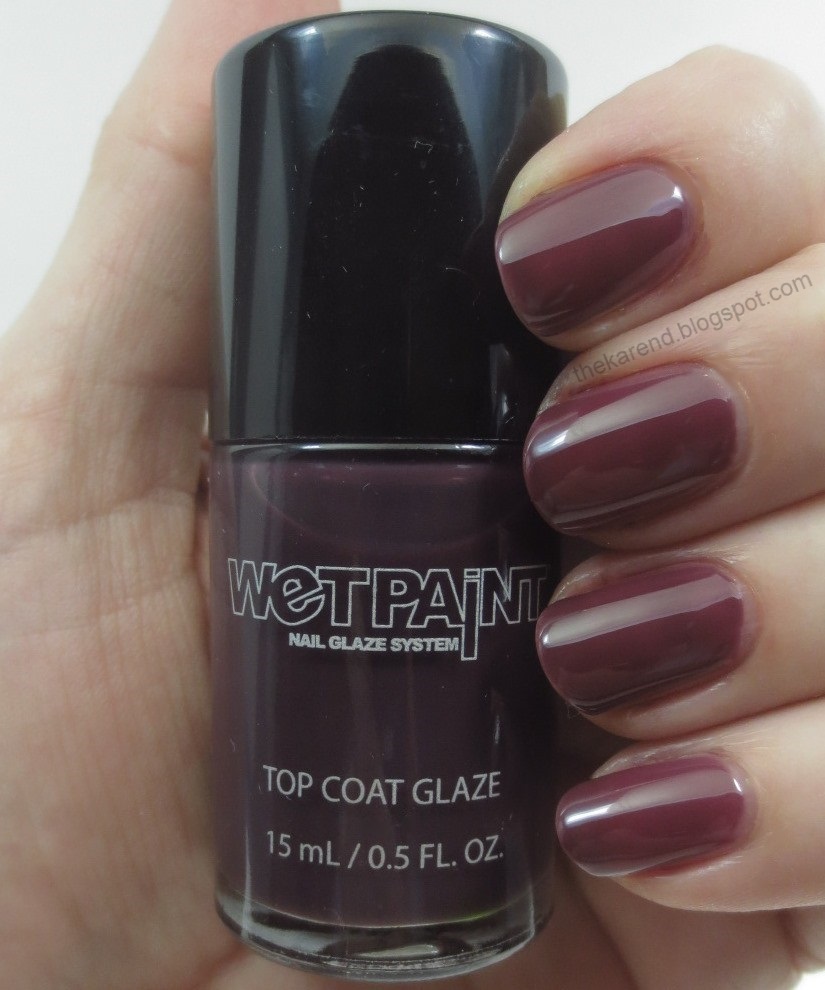
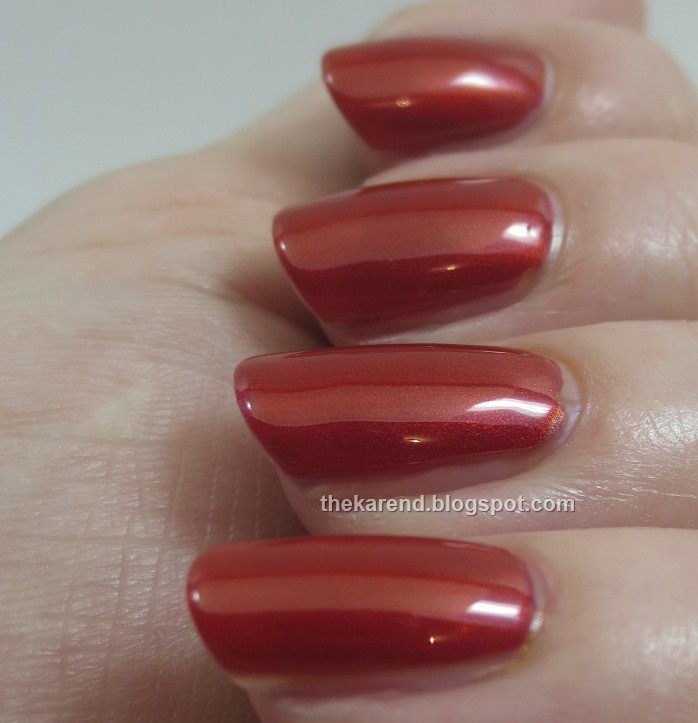
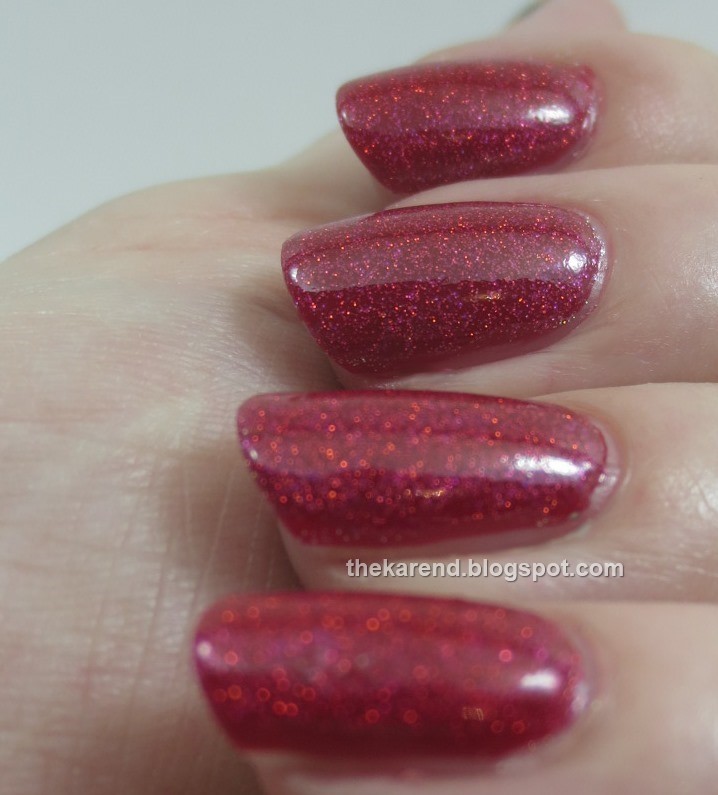
I put on a coat of Orly Nail Defense before I started with the strips. That's not exactly the clean, dry nails the instructions recommend, but I want the extra protection because my nails tend to be weak, and it doesn't seem to affect the wear I get from the strips. I then applied the tip strips, which work just like the full length ones as far as peeling off the clear plastic from the top and the strip from the paper backing before putting the adhesive backed strip on the nail. The only difference is these are just for the tips. The curve cut into them matched my natural smile line pretty well.


I realized too late that rather than matching the tip strips to my actual tips, I should have cheated the placement a bit and brought the strips a touch higher on all but my ring finger, since my ring finger has a longer free edge relative to the other fingers when they're all the same distance beyond the tip of my finger. Ah well, I'm probably more aware of that than anyone else looking at my fingers.


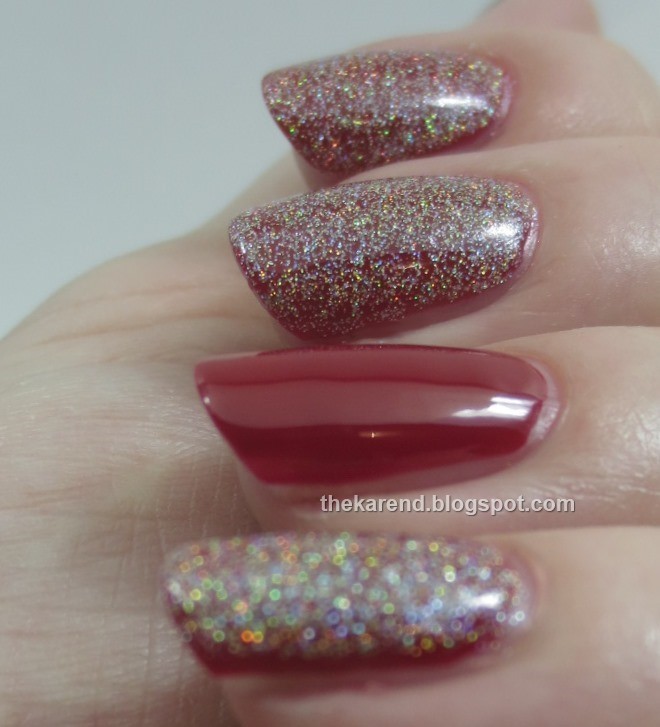
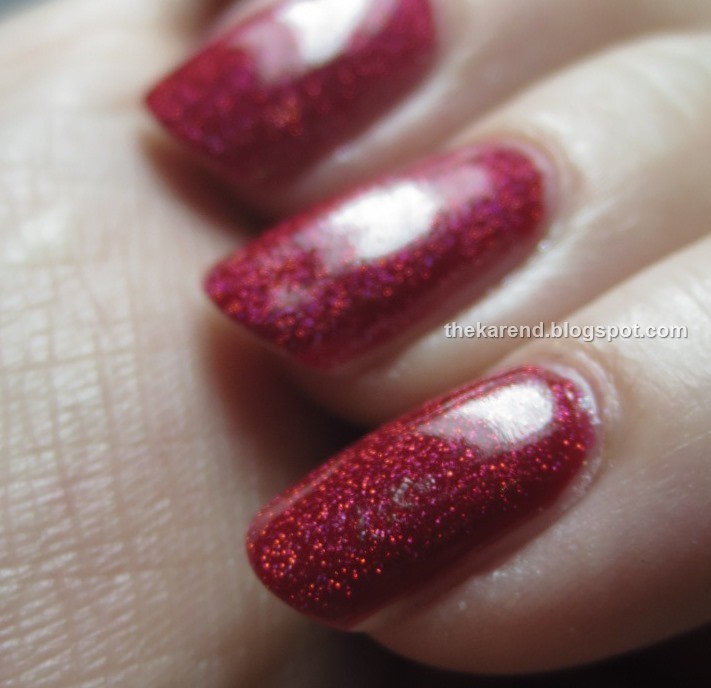
Just like doing a French mani with polish, after the tips comes topcoat, except in this case, the topcoat comes in strip form. The full length strips in the package were perfectly clear and applied right over the tip strips. I got a couple wrinkles in them, but that was obvious only in macro shots. I also noticed a few air bubbles, but was able to get rid of those by tucking each finger under my t-shirt and smooothing the strip down with my opposite thumb rubbing the fabric in circles over the nail.


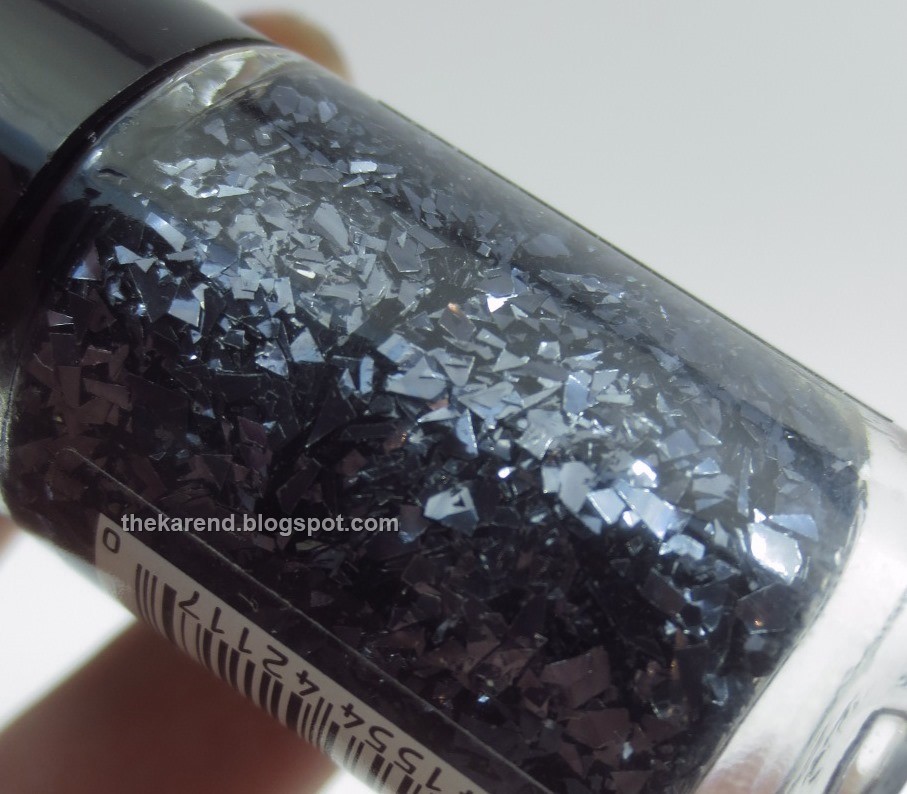
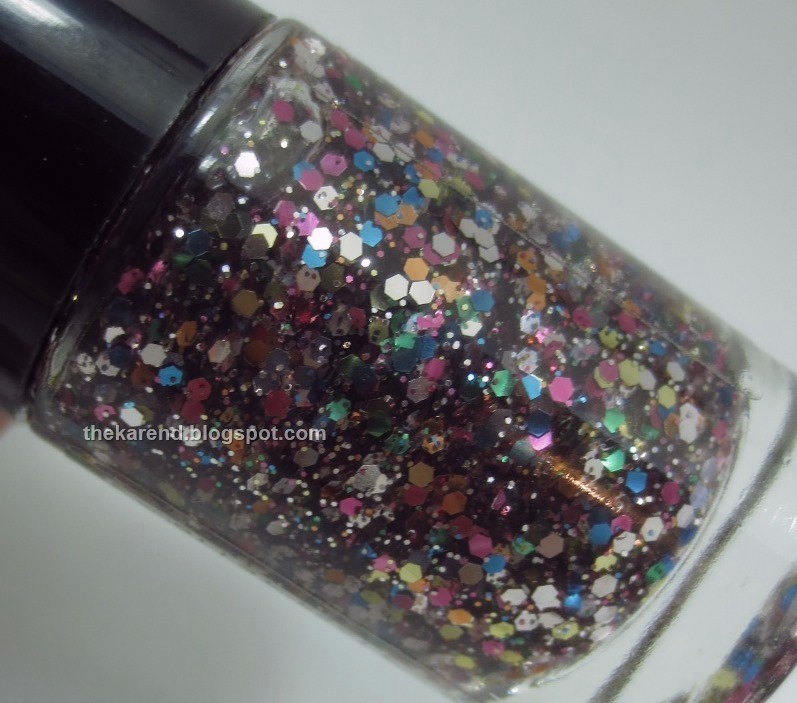
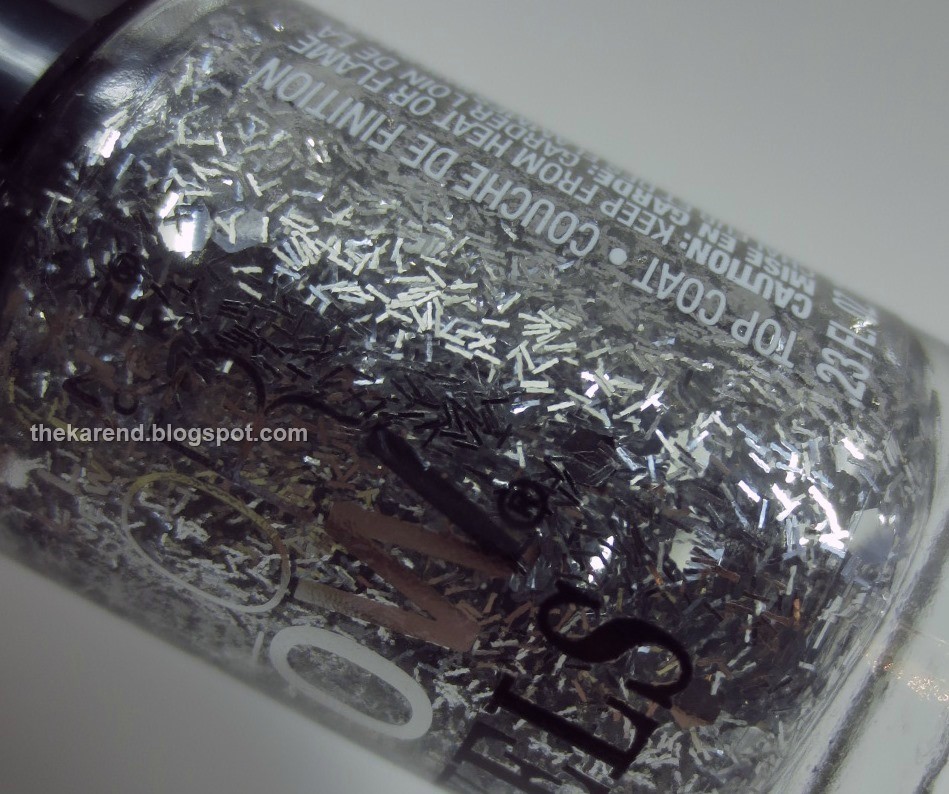
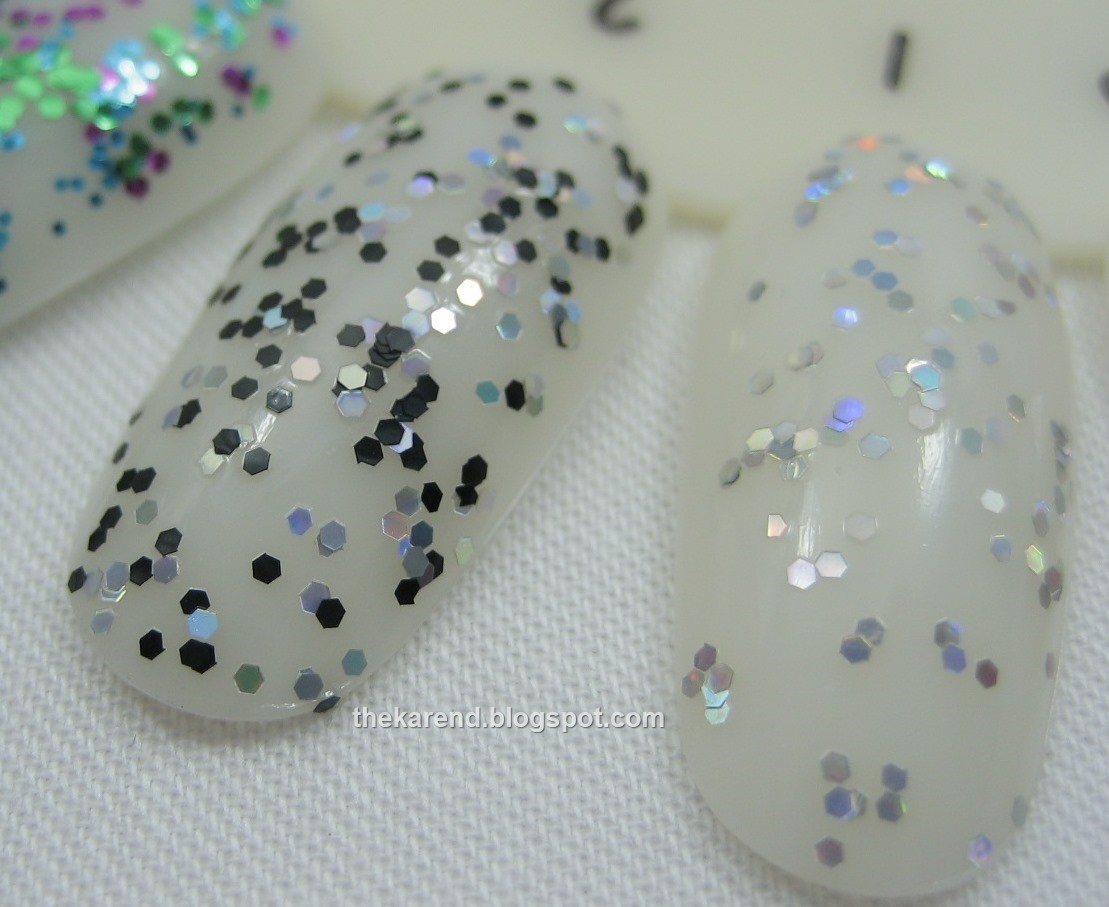
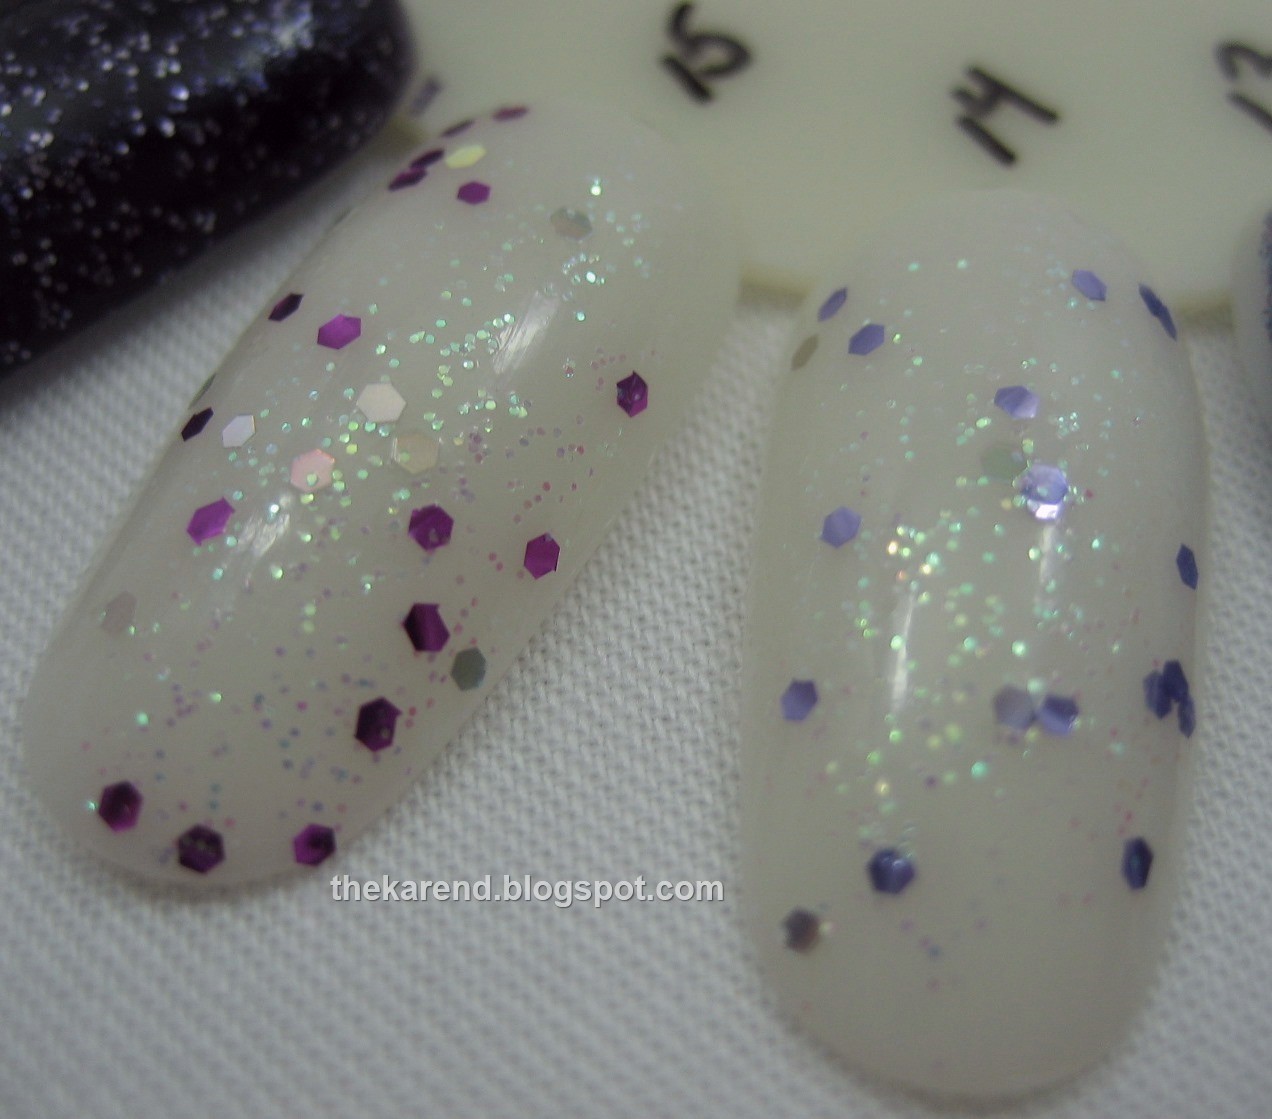
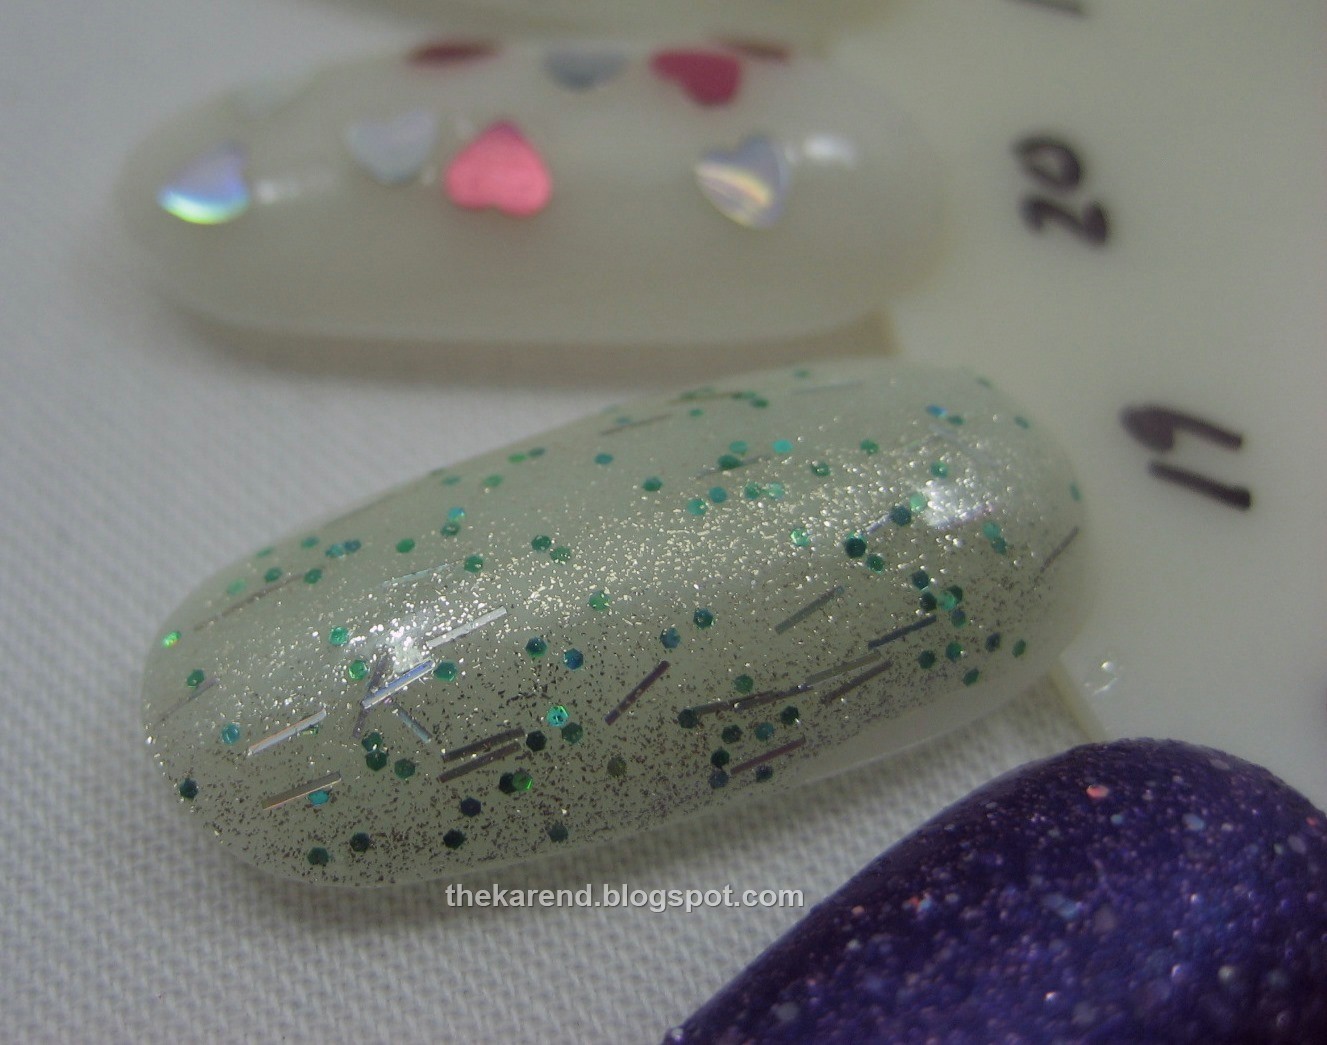
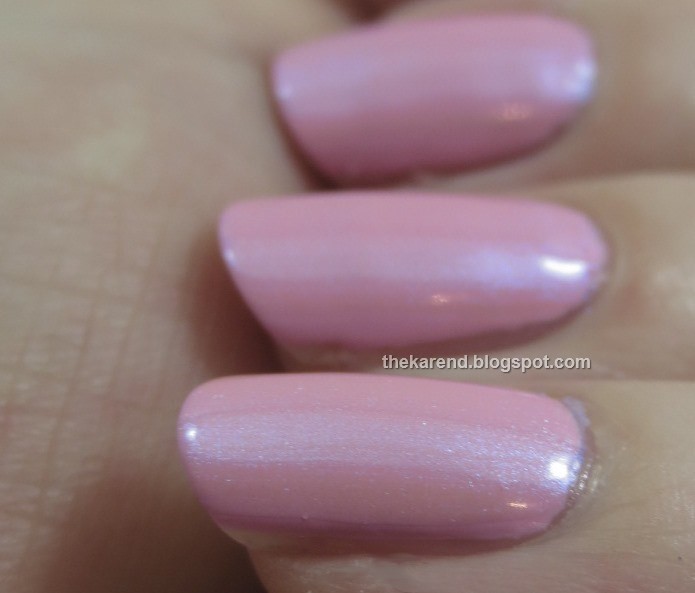
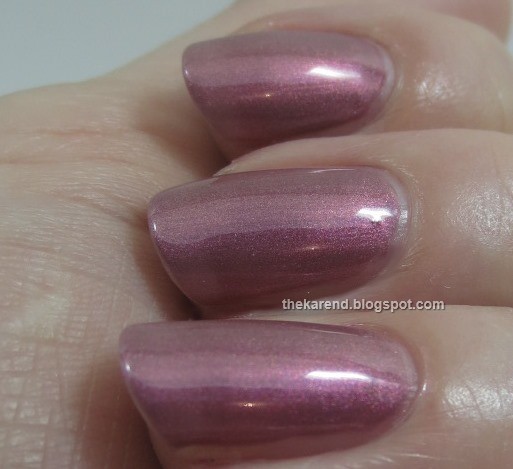
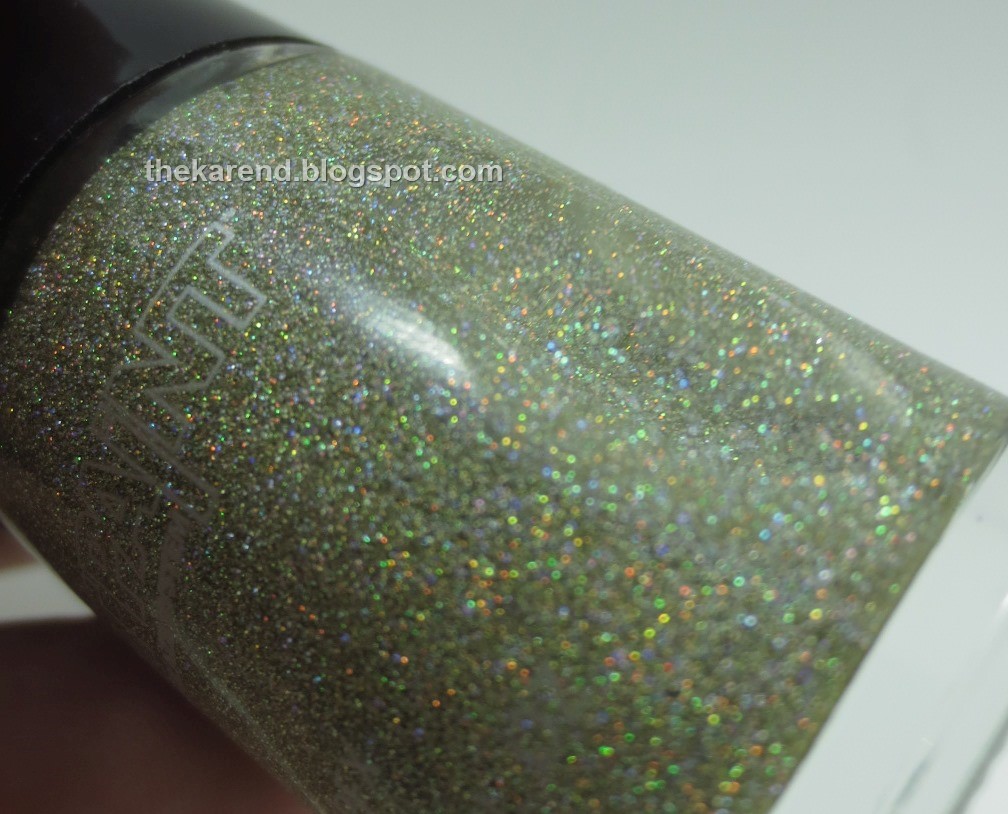
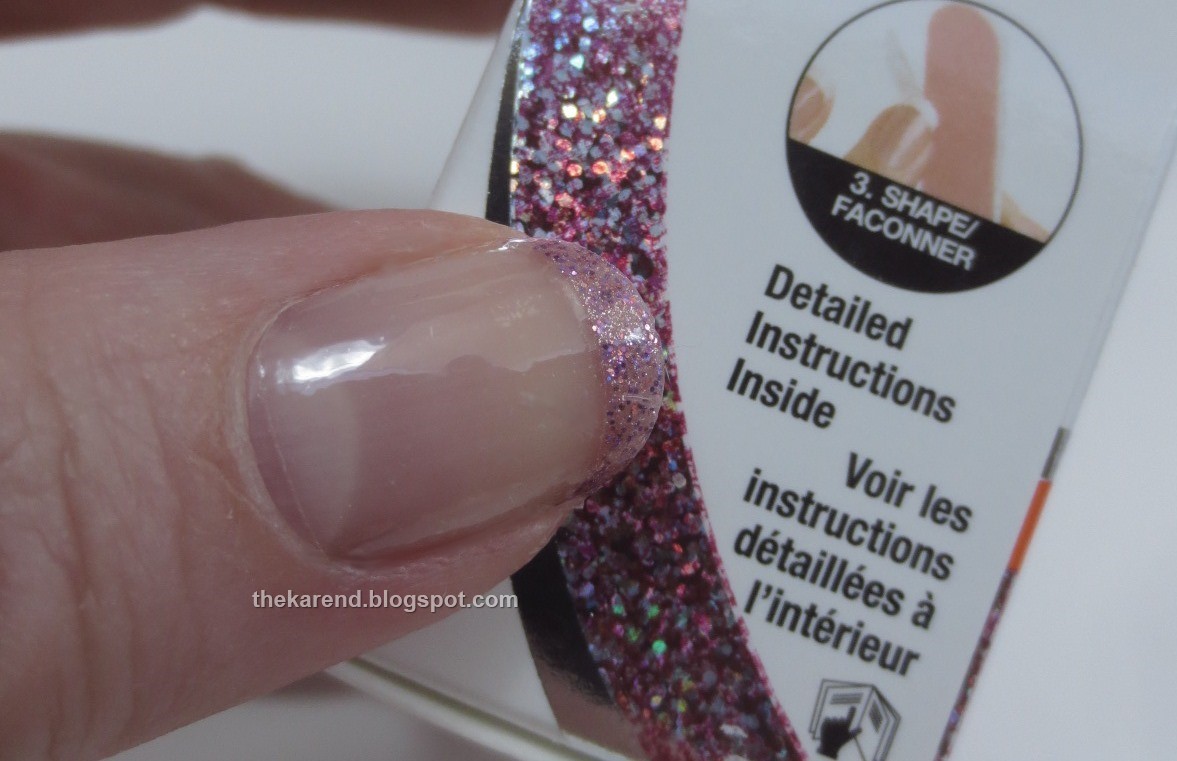
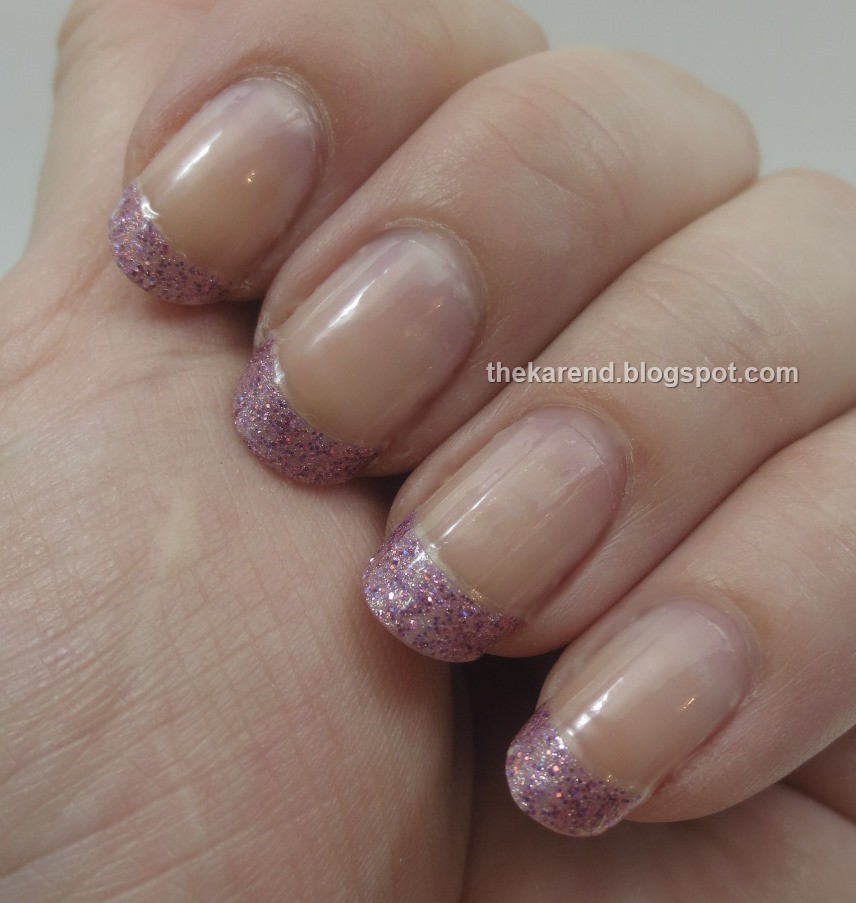
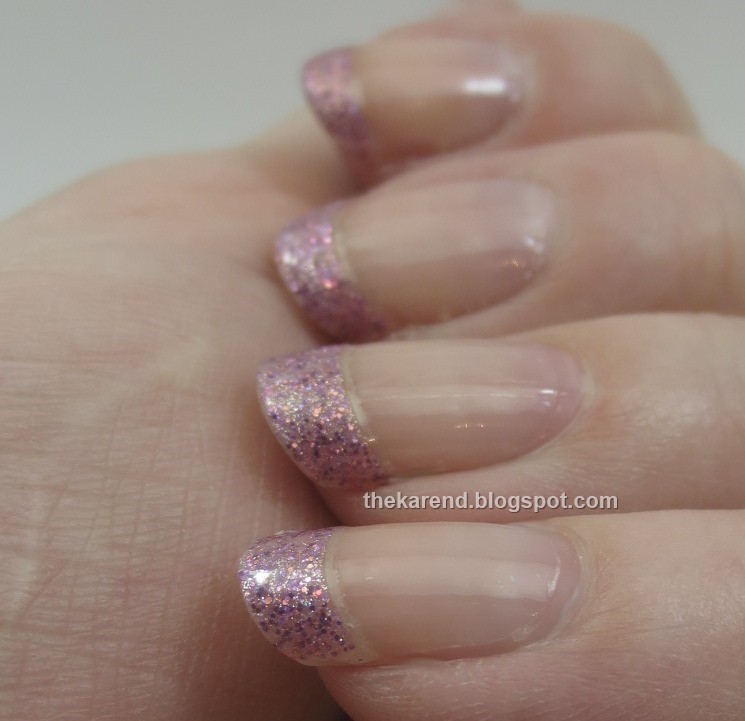
I noticed that the glitter as portrayed on the box was not an exact match for the glitter on the tips. The glitter printed on the box was larger-grained and more holo than that in the actual strips. Not a huge deal unless you had you heart set on tips that looked just like the box.


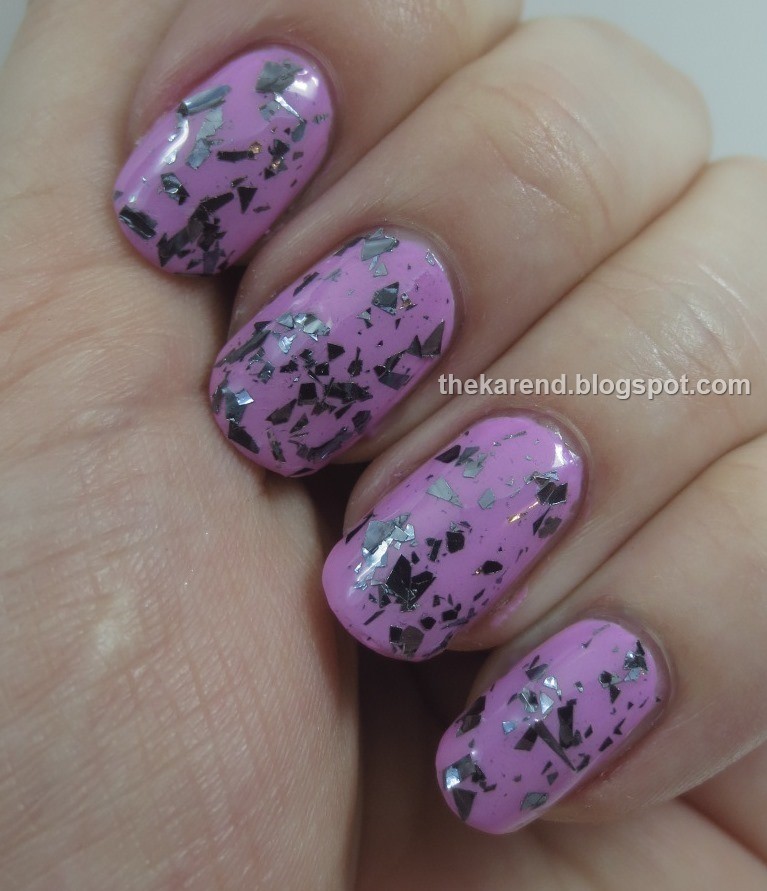
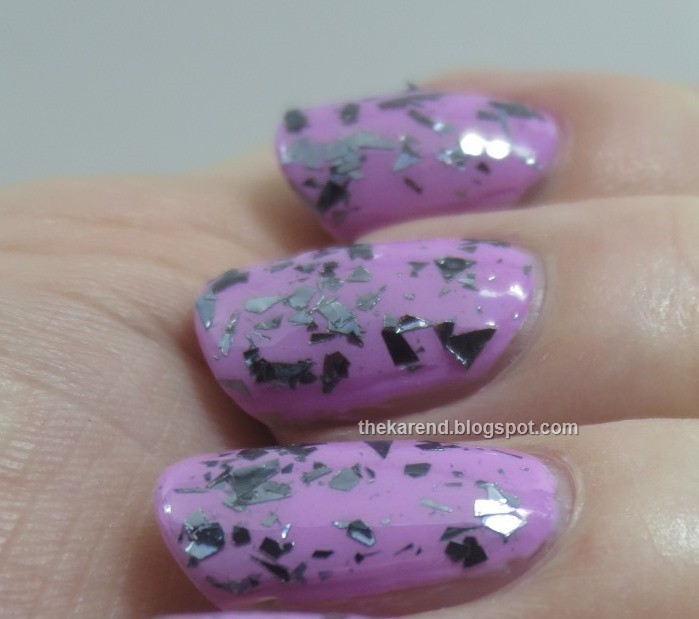
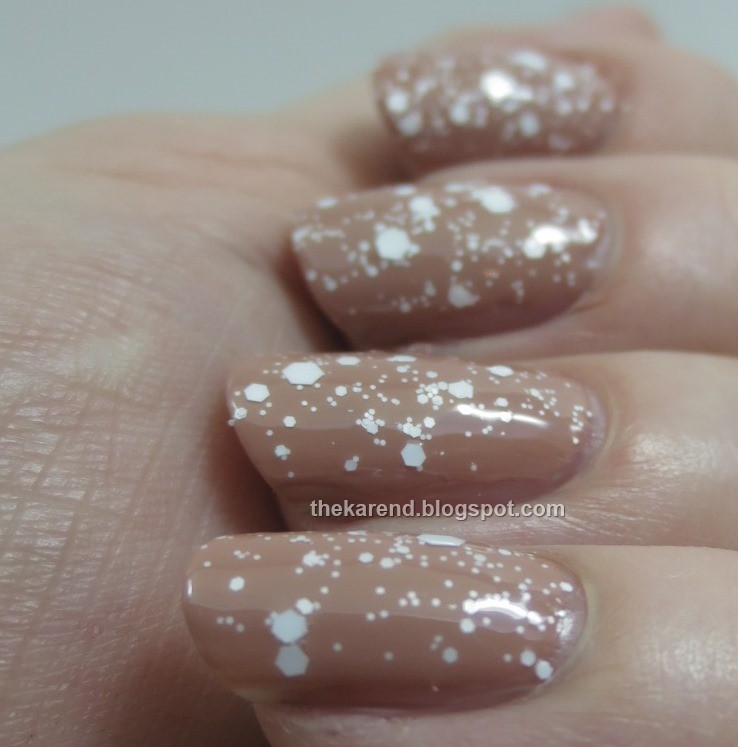
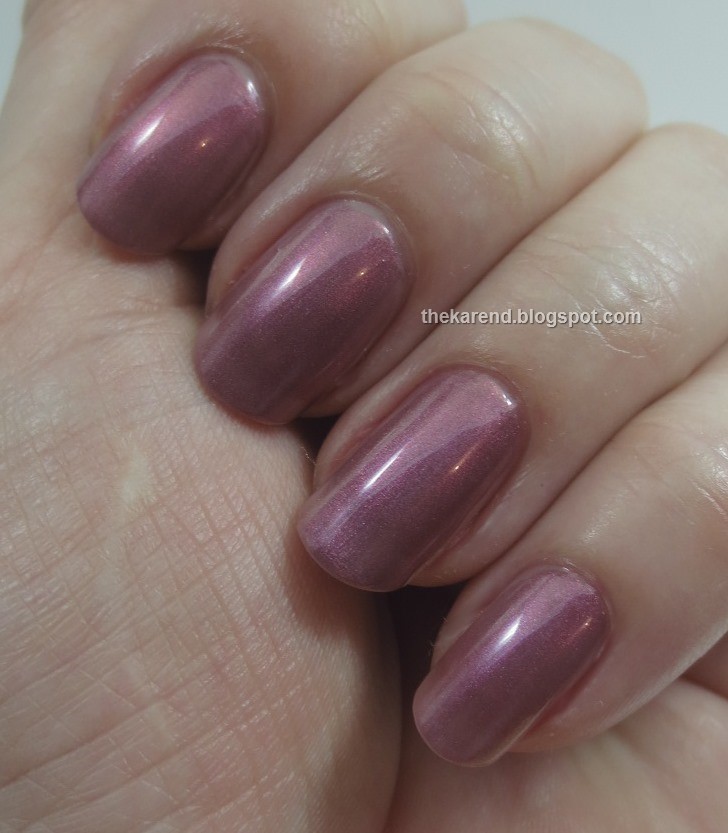
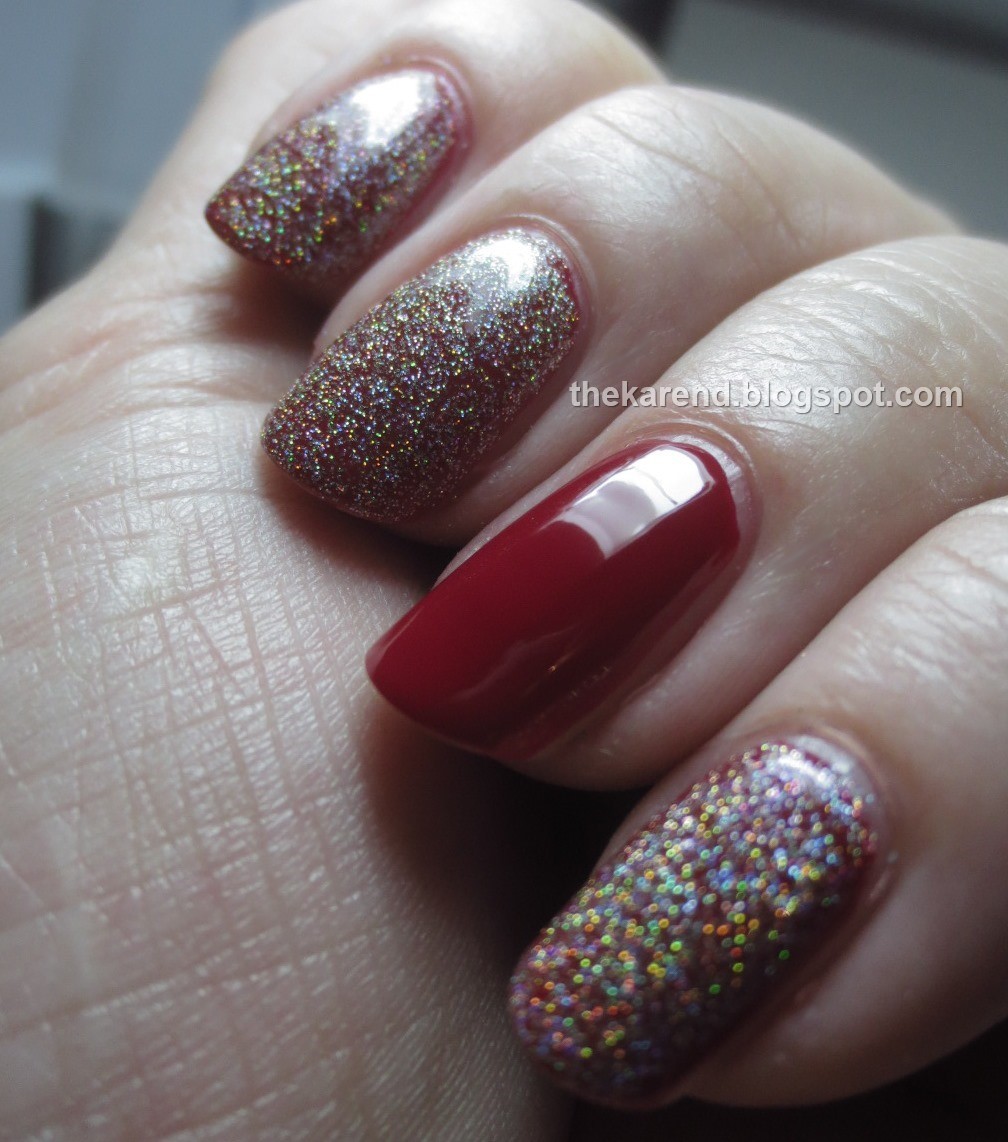
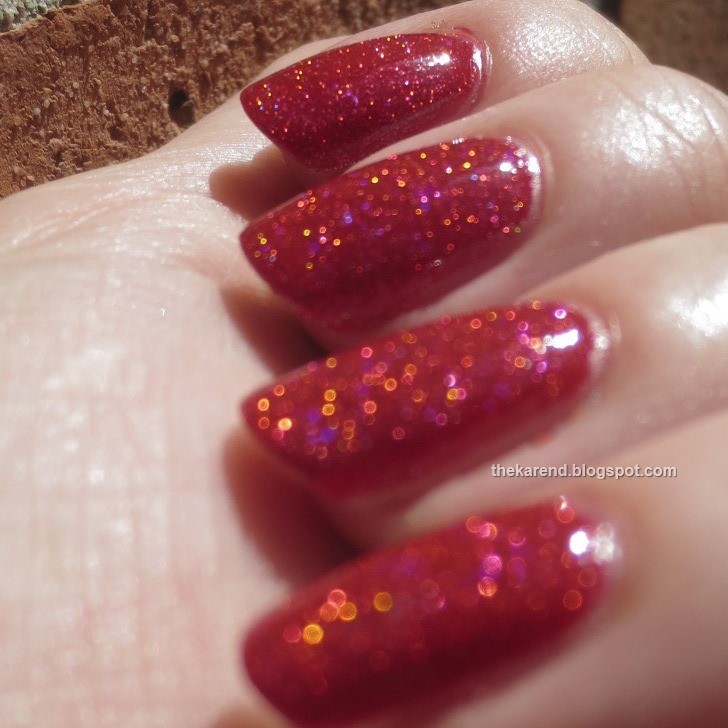
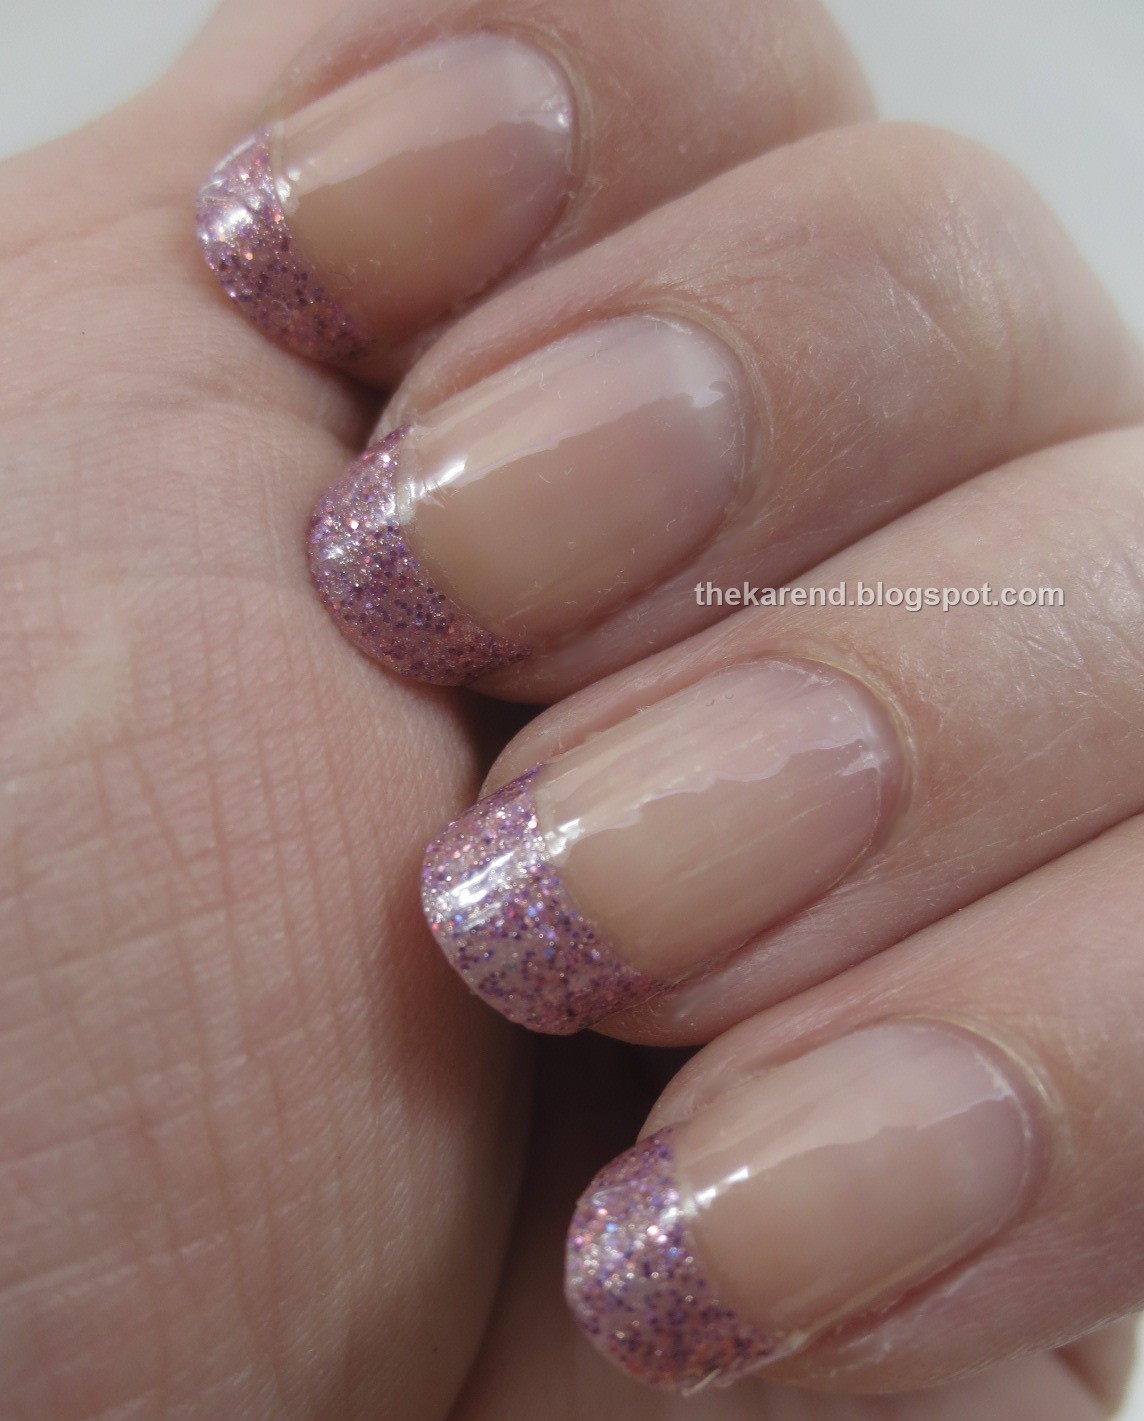
With the extra layer of strip at the tip, this mani wore even better than I'm used to with the Salon Effects. Here's what my nails looked like after seven and a half days, five and a half of which I spent pounding a keyboard at work—there's barely any tipwear at all:


My only complaint about these is that if the tip strips weren't packaged all together, I could have gotten two manis from the box, as I only needed to use one packet of the clear strips (cutting them in half as per usual so I could cover two nails with one strip, though my nails are just about long enough that that barely works now). No matter how I wrap up unused strips, I've never had any luck using them later if more than a few days passes.

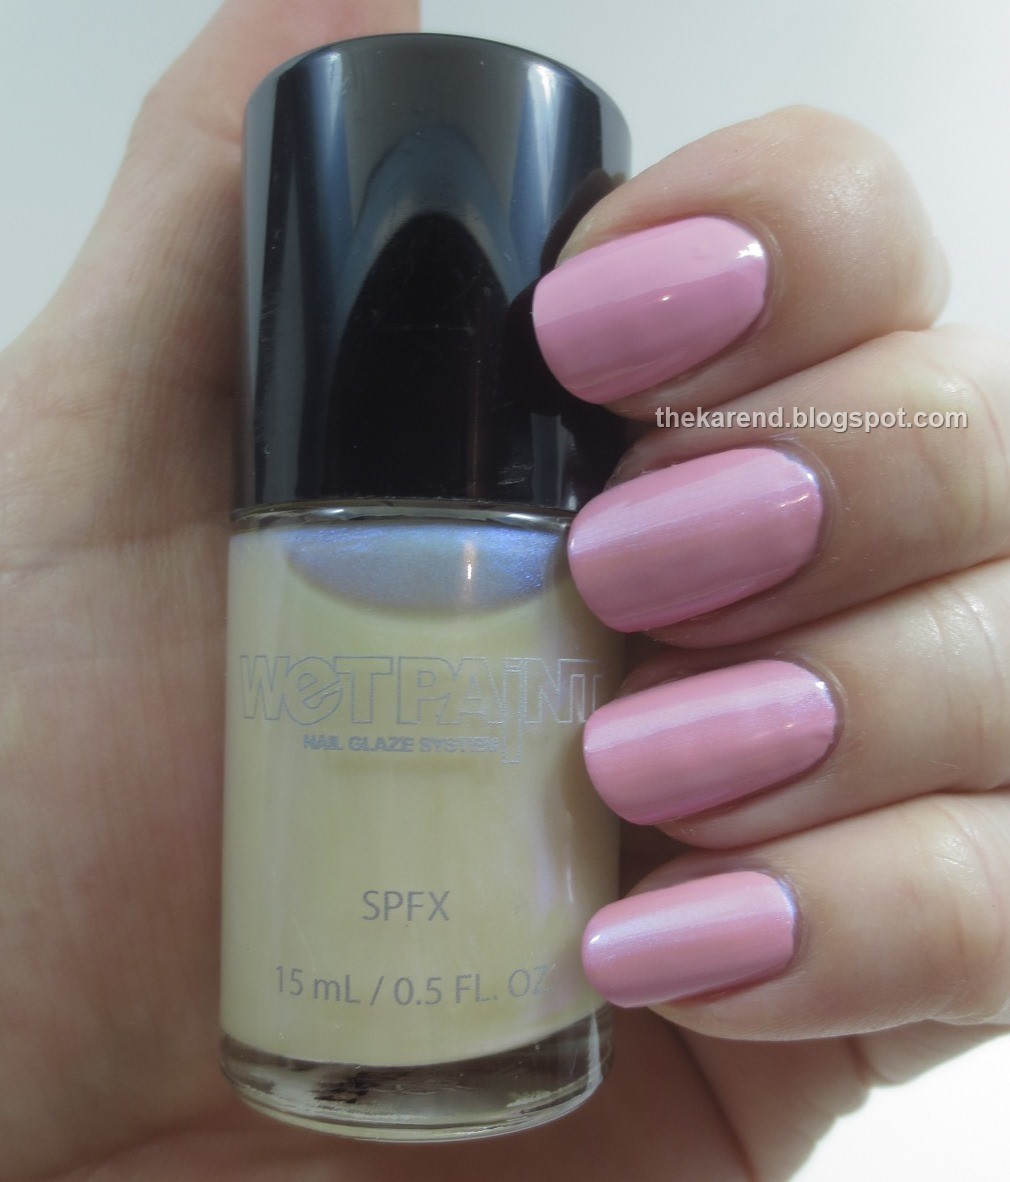
Oh, I do have one more complaint, and that has nothing to to with the strips themselves—they just seemed a bit boring to me since I'm not used to my nails looking so plain. Pink glitter tips? Yawn. I've come quite a long way from the woman who would only wear sheer peach polish to work way back in the day.


Friday, June 27, 2014

Belated Blogiversary Giveaway Winners

I finally managed to finish up verifying entries for my Belated Blogiversary Giveaway and making sure everyone got all the extra chances they qualified for, so today I drew the winners. Thank you to everyone who entered and especially those of you who have added notes to your forms when you filled them out—seeing kind words made the process much more fun that if I'd just been dealing with numbers and links and such when reviewing the entries. I assigned each of the chances (3 if a first choice prize, 2 for second, 1 for third, plus the bonuses for follows/links) a number, then used random.org's sequence generator to give me the winning numbers.

Prize #1: Studio M Summery Colors was won by Halifax of Sparkled Beauty. This was the third most popular prize.

Prize #2: LA Girl Ombre Kit was won by Mai Tran.

Prize #3: Blue Cross Mood Struck was won by Kimberly Tiu.

Prize #4: OPI Serena Glam Slam Set was won by a mystery person whose email starts with g and ends with d@yahoo.com.

Prize #5: Patriotic Quartet was won by purplegreenpanda.

Prize #6: Color Club Take Wing Collection was won by leahsuzannev. This was the second most popular prize, which surprised me a bit; I don't know if there's more demand out there for Color Club than I realized or if these particular shimmery colors are just so summery that a lot of you wanted them.

Prize #7: Wet 'n' Wild Mermaid's Cove Collection was won by lily557_.

Prize #8: Cult Nails Trio was won by Mariana.

Prize #9: Oopsie Daisies and Friends was won by Teresa at Nailementary.

Prize #10: Julie G Frosted Gum Drops was won by another mystery person; this one's email starts with ha and ends with 98@gmail.com.

Prize #11: Sinful Colors Crystal Crushes was won by a mystery person in Iowa, at least I'm guessing from the email, which starts with ste and ends with @uiowa.edu.

Prize #12: Butter London Minis was won by a person whose email starts with az and ends with e@gmail.com who would have been very mysterious except she wrote a nice note on her entry form so I know she's in Australia. This was, not surprisingly, the most popular prize.

I have sent emails to all the winners; if you think one of these is you and you haven't seen a mail from me, check your spam folder and then if still no luck, let me know by emailing or tweeting or something.

Thanks again to everyone who entered!

Thursday, June 26, 2014

Maybelline Color Show Polished Jewels Swatches

Given that it had five glitters in it, there was no way the Maybelline Polished Jewels collection was going to remain intact after I snapped the photo for my most recent display post. Neither the display nor the bottles say they're limited edition, so these should show up in core displays, too. I grabbed one of each shade; they're all glitters in a clear base. Left to right: Gilded in Gold, Mosaic Prism, Precious Pearl, Gleaming Graphite, Platinum Adorn.


Gilded in Gold has shredded gold metallic glitter.


I swatched Gilded in Gold over Maybelline Day Glow Teal (from this summer's Bleached Neons LE collection). I used a white base because I figured even a bleached neon could use some pop, then two coals of the teal (which I consider more of a turquoise), then two coats of the gold glitter with a fair bit of dabbing. Like most shredded glitter, there were some sticky up bits in this one. Some topcoat would have smoothed those over, but for swatching purposes, the clear base of the glitter polish was good enough on its own.


Despite not being a gold lover, it wasn't much trouble for me to find two other shredded gold glitters to compare to Gilded in Gold: Essence Metal Glam Gold Topper (which is oddly called "Steel-ing the Scene") and an unnamed The New Black mini from one of the kits Ulta had on clearance in recent months.


Left to right below over black creme: Maybelline, Essence, Maybelline, The New Black (2 coats of each). These are all pretty close, though The New Black one seemed to have less shreds per square inch.


When the first ads for these Color Show Jewels were spotted there was some speculation that these might be flakies, a la Zoya Maria Luisa. It's now clear they're not, but I went ahead and grabbed some gold flakie polishes for comparison anyway to show the difference. Matching up with Gilded in Gold, I had Zoya Maria Luisa, Revlon Gold Goddess (from this summer's Rio Rush LE collection), and NYC Top of the Gold.


On the nail over black, left to right: Maybelline, Zoya, Revlon, NYC. Clearly the shreds are chunkier and flashier than the flakies. The Revlon and NYC are both good substitutes for the Zoya; the Revlon slightly more so than the NYC as it seems to match better in the density of flakies category.


Another angle on the flakies:


Gleaming Graphite has charcoal glitter shards; it's Gild in Gold's cool-toned twin.


I tried Gleaming Graphite over Maybelline Ultra Violet (also from Bleached Neons), again with a white base to start, two coats of color, and two coats of glitter. This time I did add topcoat to smooth over the jagged bits of shreds that wanted to poke up.


Mosaic Prism has multi colored tiny and large hex glitter—silver, gold, pink, blue, green, copper.


At first glance, I thought Platinum Adorn was just silver bar glitter, but a closer look shows there are also large silver hexes in there.


I used Maybelline Walk in the Park, a deep green creme from core line, as a base for Mosaic Prism with an accent of Platinum Adorn. I used two coats of color and two of glitter, plus clear topcoat.


I failed to take a macro bottle shot of Precious Pearl; it's got multiple sizes of matte white glitter. I layered two coats of it over over Warm Me Up (from spring's Dare to Go Nude LE collection) and topped with topcoat.


My picks here are Gleaming Graphite, because I don't have another shredded glitter in this color and it's a better look for me than gold shreds, and Precious Pearl, which I can see coming in quite handy for winter snow-themed manicures. Precious Pearl is similar to Nubar White Polka Dot, but the Nubar has small iridescent glitter in it so clearly I need both.

Wednesday, June 25, 2014

Wheel P6: Glitters from Claire's and Other Brands

As promised/threatened last week, Nail Wheel Wednesday is back. In this edition, I have glitters, some toppers, some wearable on their own, and mostly from Claire's. I haven't been to a Claire's in ages; I have to go just a little out of my way to get to any of the ones in my area, and it's best that I don't because I invariably find something to buy when I do. I am especially weak in the face of the mini sets they always seem to have, one of which I've got on today's wheel.


My notes don't say anything about adding topcoat to these; I usually do on glitter wheels, and usually note it in my little book, but this time no note and some of these look kind of bumpy, so maybe I skipped it.

1. Claire's unlabeled mini silver holo (3 coats)
2. Claire's unlabeled mini silver holo and black (3)
3. Claire's unlabeled mini green/turquoise/magenta (3)
4. Claire's unlabeled mini turquoise/magenta (3)
5. Claire's unlabeled mini purple (3)
6. Claire's High Maintenance (3) [almost a two coater]
7. Claire's Gold Glitter Top Coat (3) [pretty dense for a topcoat]
8. Claire's Glitter Top Coat (3) [ditto]
9. Claire's Disco (3)
10. Claire's Bedazzled (3)
11. Claire's Chunky Purple (3) [I still don't know why this didn't get on the same wheel as its chunky siblings]
12. Claire's Candy Shop (2)
13. Claire's Mystical (3)
14. Claire's unlabeled heart bottle lilac/iridescent (2)
15. Claire's unlabeled heart bottle magenta/iridescent (2)
16. Le Chat CM Midnight Imposter (2) [I don't think I'll ever get Essie Starry Starry Night, but I'm happy with this more purple, bigger-glittered cousin]
17. Nina Ultra Pro Glamrock (2) [looks a lot like some of the chunky textures that came out later]
18. Nina Ultra Pro Purple Xing (2)
19. Kleancolor Starry Meteor (3) [this makes me think of Easter for some reason]
20. Kleancolor Twinkly Love (2)

Bottles 1 through 6:


7 through 10:


12 through 15:


16 through 20:


Tuesday, June 24, 2014

Wet Paint Nail Glaze System

The Wet Paint Jellies I shared earlier this month are only part of their product line. Today, thanks to the brand kindly sending me some bottles to review, I have samples of the non-jelly polishes they offer, Bases and Special Effects. (Of course some of the Jellies will get into the act, too, because it's so much fun to play with them.) Wet Paint sent so many colors that I'm not going to be able to fit all my swatches into one post, but I will share a quick bottle shot; the first three in the top row are Special Effects (SPFX) and the rest are Bases. Top row: Pearly Girl, Carmel Breeze, Crystal, Always Buy Platinum, Teal Me I'm Pretty. Bottom row: Call the Chauffeur, Girl Boss, Paint Wear Love, Shock & Aqua, Bimini Blue.


I started my Wet Paints playtime with Call the Chauffeur, a cool-toned medium pink creme. This had a good formula, neither too thick nor too thin, and was opaque in two coats. On all but my index finger, I added one coat of Carmel Breeze, a sheer shimmery topper with a blue sheen. Carmel Breeze warmed up the pink just a tiny bit and the shimmer made the look more interesting than just the plain creme.


Girl Boss is vibrant deep pink. The formula on this was thinner than Call the Chauffeur but I still needed only two coats.


And now the real fun begins—I left my index finger alone but then put a different layering combination on each of the others. On my middle finger (second from top), I added two coats of Voice of Raisin, which gave me a deep shiny plum color. On my ring finger, I added Voice of Raisin plus one coat of Pearly Girl, a pearly shimmery topper with a pink sheen. My pinky got Voice of Raisin plus Carmel Breeze. Four different looks, all starting with the same base color—I love this!


For my next experiment, I started with two coats of Voice of Raisin. I was so excited to see how I could transform it that I didn't take a photo at this stage, but here's what it looked like when I swatched it at three coats earlier this month:


To my jelly base, I added two coats of Pearly Girl and got a lovely purpley pinky shimmer.


I then submerged this shimmer under a layer of Raincoat Slicker, a yellow jelly. This combination resulted in a bronzey gold color that was not especially flattering to my skintone but definitely was an unsual hue.


I turned that ugly to some hue into something more mainstream by adding a coat of Jelly Rancher Red, which gave me a warm red with subtle shimmer.


Because I had six layers of polish in four colors on my nails at this point, I decided it was time to start over with a new base color. I stayed in the same color family and went for Paint Wear Love, a classic red creme. Like Girl Boss, this had a thinner formula than Call the Chauffeur; two coats was plenty, and it didn't need any topcoat to shine.


To top this red, I grabbed the SPFX I hadn't yet tried, Crystal. This has a clear based packed with holographic microglitter.


I added one coat of Crystal plus topcoat to three of my nails and found I got plenty of pops of color from Crystal even in indirect light.


In low light, still poppin'.


I decided my accent finger was sad without glitter, so topped it with Crystal too before adding a coat of Jelly Rancher Red. The result was a pretty sparkly red that was fairly smooth even without topcoat.


Also pretty in low light:


Then I went outside and bam—so sparkly! I thought it looked good inside, but in the sun, it was mesmerizing, with pops of orange and pink and yellow and red just everywhere (and this is without topcoat, remember).


As you can see, I had a lot of fun with these Wet Paint colors. I did plenty more combinations, but I'll save those for another day as I've already gone on quite long enough for one post.

You can see all the Wet Paint polishes on the Wet Paint website. You can also purchase them there; the base colors are $6 per 15 ml bottle while the jellies and SPFX are $8. There's a "Try It On" feature that lets you try out different combinations, though I didn't consult it when I was playing and only found out later than some of the layerings I did are not recommended (or even possible to try given the parameters of the tool). The Wet Paint Facebook page has plenty of swatches and nail art for inspiration.


The polishes shown in this entry were provided free for review purposes. The content of the entry was not dictated by the provider, and I get to keep the polishes for my own use.